Game 1: Maelok vs Skarre3 (Banes Banes more Banes) : Scenario Win

Going into turn 2, the Husks who had taken up residence behind the central forest ran to engage the front line. On the left, and middle, they ran hand in hand with Croak Raiders to stop the Banes from just charging/advancing past the Husks since they have Ghostly. The idea here is to pen in the Banes near their flag and stop them getting into the zone as much as possible, and also, to allow the Posse the turn after to surround the flag to stop Skarre from scoring. A Boneswarm with Swarm charged in too. Reason being, if Skarre wanted to come forward to try shoot the models behind the frontline, she'll be in Swarm range with an effective -2 to Hit and with the Posse under Dirge of Mists, making them Def16. On the right, a single Husk who had been camped out behind the wall ran to a position where if he died, the resulting AoE hazard would scupper a lot of Bane movement. On the right, i knew i had to sacrifice Posse as i didn't have the same resources as the left. The first row were established to again try crowd out the zone, with the back rank set up behind the wall for protection and in range to just be able to walk over and hit Banes without the need to charge.
Turn 2 for Skarre3 saw a Reaper come into combat with the Boneswarm and fail to kill it. Between the corpse tokens and Maelok feat, the Def13 ARM 20 Boneswarm was difficult to remove. On the left, the majority of the Croak Raiders had died as expected and he failed to remove the green posse in the zone. On the right, the Banes in total killed 4 out of the 5 sacrificial Posse with some good rolls. The Husks were largely ignored except the one in the middle which took 2 Banes and Tartoras with him.


Lessons Learnt: It's important to identify what you are going to lose and how you plan to retaliate the turn afterwards. By giving the Banes a few Posse, i able remove the majority of them in return with good positioning.
Game 2: Barnabus2 vs Kaya1 (All the Puppies and a Pigeon) : Assassination Loss
Second game was a newish Warlock in the form on Barnabus2. I was up against a newer player who is returning to the game after a year or so out, and i felt it wasn't in good faith to drop Maelok against someone trying to get back into the game.
 Having lost the roll for first turn, I chose the side with the least amount of terrain getting in the way. The plan with this army is to advance forward and bait the enemy into sending stuff into me and for him to fail to get through DEF13 + Swarm + Execration of Darkness, then Barnabus2 retaliates with advantageous piece trades.
Turn1, Kaya1 send her whole army forward. Sending the Feral to cover the right zone and the Pureblood towards the left.
Barnabus2 turn 1 now becomes a little more difficult as the Warpwolves effectively have a lot of the middle of the board covered. Two Boneswarms charge forward with the Swarm animi up and land just in range of the Feral on the right side, attempting to bait it forward. The Boneswarms on the left do the same, making sure to position in such a way that Execration covers them.

 Turn 2 Minions. Barnabus advances forwards and lands Hunters Marks on both the Satyr and Feral with the help of Bonegrinders for the +2" to spell range. He pops feat and uses the replenished Fury to cast Rage on the Boneswarms. The Boneswarms on the right Charge into combat and fail to kill both war beasts, leaving the Satyr on a handful of boxes and never really getting close to killing the Feral. I had a major misplay as I believed Snapjaw had reach 2" (don't ask me why), and therefore wasn't able to finish the Feral off. Warbeasts on my left run up as far as possible, which isn't very far as they're stuck behind a single Boneswarm who has a Speed debuff.
  Going into turn 3, my inexperience with this list really starts to show. Positioning wise, my warbeasts are all out of position, and are not befitting from the multiple synergies i have available in my list. Kaya uses her turn to throw multiple war beasts into the fray to remove the Boneswarms on the frontline. Then, we find out, that the War Argus has an Animi which really counters Barnabus2. Dopplerbark drops all enemy undead and living models within 2" to base DEF5, which, renders the whole high Defence tactic null and void. Using this, and the increased MAT of Kaya's Battlegroup, the Minion beasts start dropping.
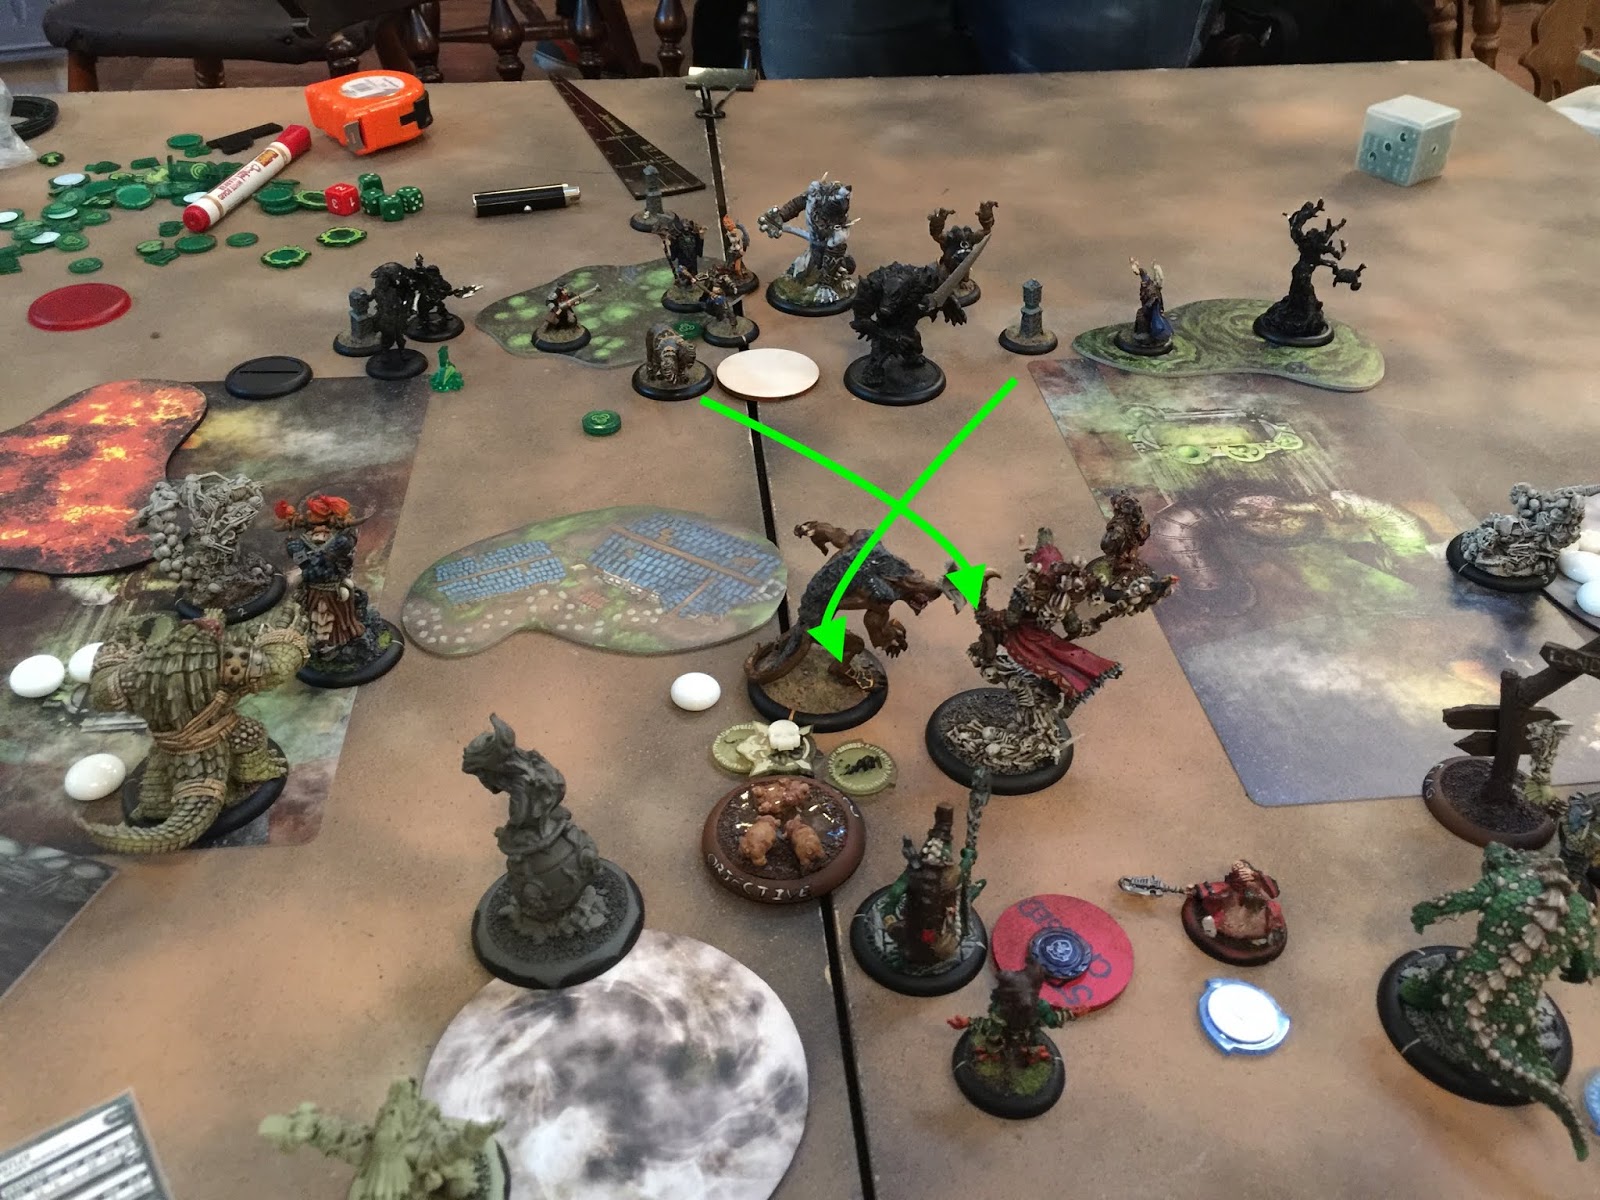
Turn 3 Minions. Barnabus2 decides it's time to start killing stuff himself. He advances and removes the Warbeast in front of him. I "thought" i was safe from Dopplerbark, but it turns out, i REALLY need practice with this list. The game ends with the War Argus charging a nearby model, and getting a Dopplarbark onto Barnabus2, and then a Feral coming in under Primal and ripping Barnabus2 apart.
Lesson Learnt: Wow, i found it shows a huge difference when Im playing a list i'm not familiar with. While i see the potential in the list, I think it's just a matter of getting more games in to become more proficient at piloting it. Also, when using the boneswarms in this list, I need to be sending two against a single target and making sure they have been removed from the board before moving on.
Game 3: Maelok vs Zaadesh2 (Double Turtles): Clock Win
Last Game is one which i've been wanting to play for a while. Skorne in particular, i believe, can lay on the hurt for Maelok. Their war beasts are cheap and hit very hard, and casters like Rasheth can make Posse's Armour become paper. I personally hate dealing with Siege Animatrix (Derp Turtles). The abundance of attacks and high power, with auto knock down on their weapon really lays on the damage. The plan here is to jam, and jam hard, then hopefully grind out the scenario win by dealing with the turtles one after another.

Zaadesh2 turn 1, the Derp Turtles advance forward taking pot shots at Croaks and then repositioning forward more. The rest of the army advances.

Going into turn 2, i see an opportunity to take an early piece trade. Maelok feats and casts Death Pact. The Gator Soul Slave advances with Incorporeal and lands a Mortality onto the Archidon on the left hand zone with the help of Puppet Master from the Spirit Cauldron. The green unit of Posse charge under Bloodthirst and remove the Archidon, while making sure they're in feat range of Maelok. The rest of the army runs into position to block off my flag and engage multiple scenario elements.
The Boneswarms cast the Swarm animi and charge towards the Turtles. The aim here is to get them into positions where if the Turtles want to come forward to engage Posse, then the Swarm animi would make it harder for them to hit.
Zaadesh2 turn 2, derp turtles charge what posse they can reach and clear a lot of the middle of the board. Feat goes down but can't stop Maelok scoring his flag. It is worthwhile noting that a lot of time used here trying to un-jam his army and advance.

The lone Croak Raider stands still to aim and removes the Mist Speaker. the Soul Slave yet again Mortalities the Derp Turtle on the left. Here is where i learn my most valuable lesson of the game, do not over stretch the army and try to achieve too much at once. Instead of sending the Boneswarm to take the objective marker, i send it to the Turtle to try to bait out the Defensive Strike which they rightly do not take. The combined might of the Posse and the Boneswarm can not kill the Turtle who is effective ARM24 due to Inviable resolve and the Agoniser sitting behind. The right call here was to take the objective for 1CP instead of trying to go for the 2. I end up not scoring either which "tilted" me for the rest of the turn. Now the Mist Speaker has been removed, i run the Thrullg to behind the cloud to set up a charge the following turn to remove the upkeep spell. I misplace the rest of the Posse on the right, and end my turn 2-0 up.
Zaadesh turn 3, on my right, the Turtle has JUST enough room to advance, kill 2 Posse then reposition to within 4" of my flag. If i had placed the Posse about 2" further up the table, i could have scored another 1CP on his turn, and another on my own, as on that side of the table, i have nothing to remove the contesting Turtle.

It is important, when the plan doesn't go right, or is starting to go south, to step back, take a deep breath, and re-assess. I was so caught up in trying to take the game in that turn that it nearly lost the game in the long run. I could have easily changed up the plan one or two activations before and been in a better situation to win next turn.
No comments:
Post a Comment